
11gR2 Real Application Clusters(RAC) のインストール(3)
本ページではVMwareを用いた11gR2 RAC(2node)のインストールの方法をまとめています。1 構成・インストール前準備
2 Grid Infrastructureソフトウエアのインストール
3 データベースソフトウエアのインストール
4 データベースの作成
補足
データベースソフトウエアのインストール
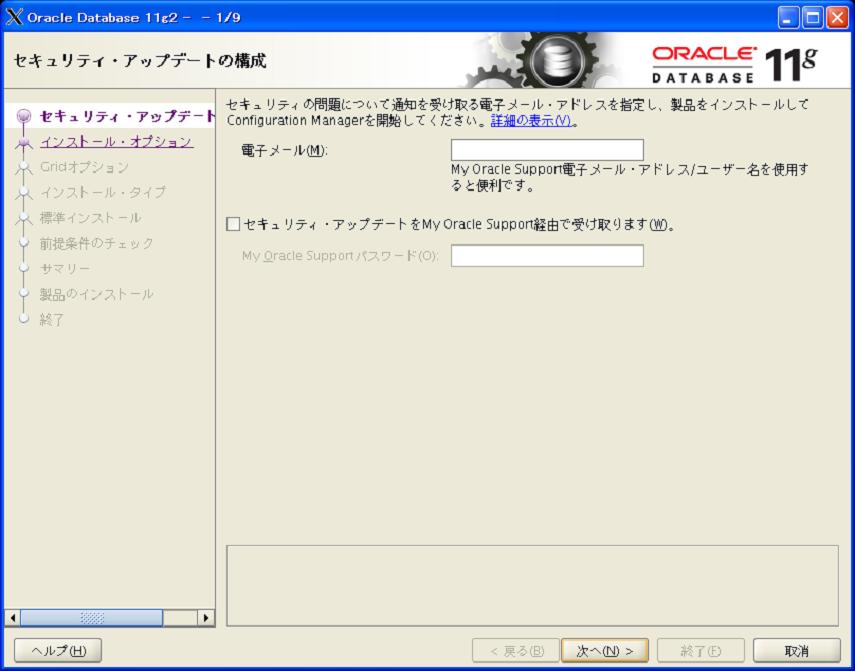
・データベースのインストールメディアからrunInstallerを実行し、OUIを起動させます・最初の画面でMy Oracle Supportの登録アドレスを入力できますが入力しなくても先に進むことができます
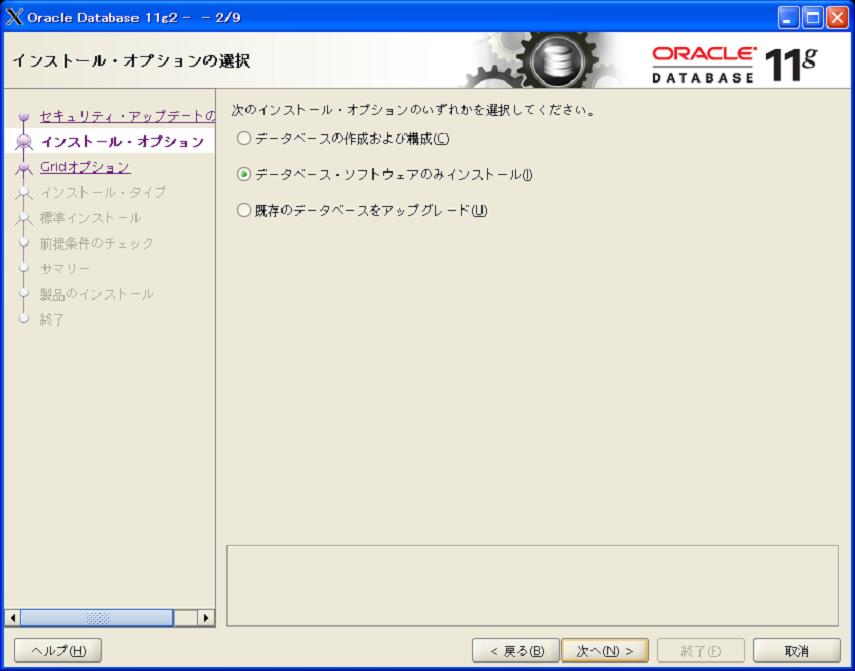
・DBはDBCAで後から作成するのでデータベースソフトウエアのみインストールします
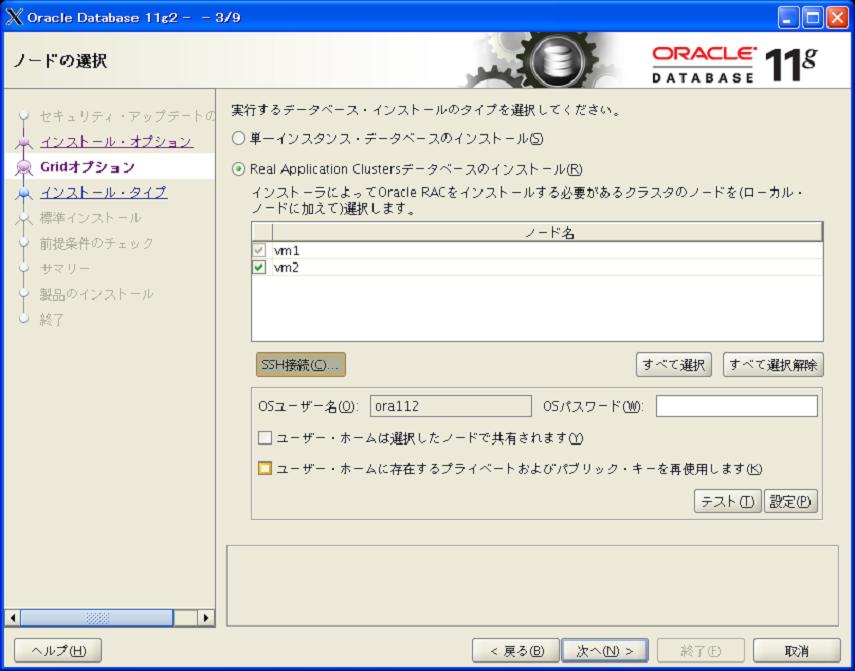
・RAC環境としてDBを作成するためReal Application Clusters としてインストールします。
SSHに関してはGrid Infrastructureのインストール時に構成してあるので設定済みです
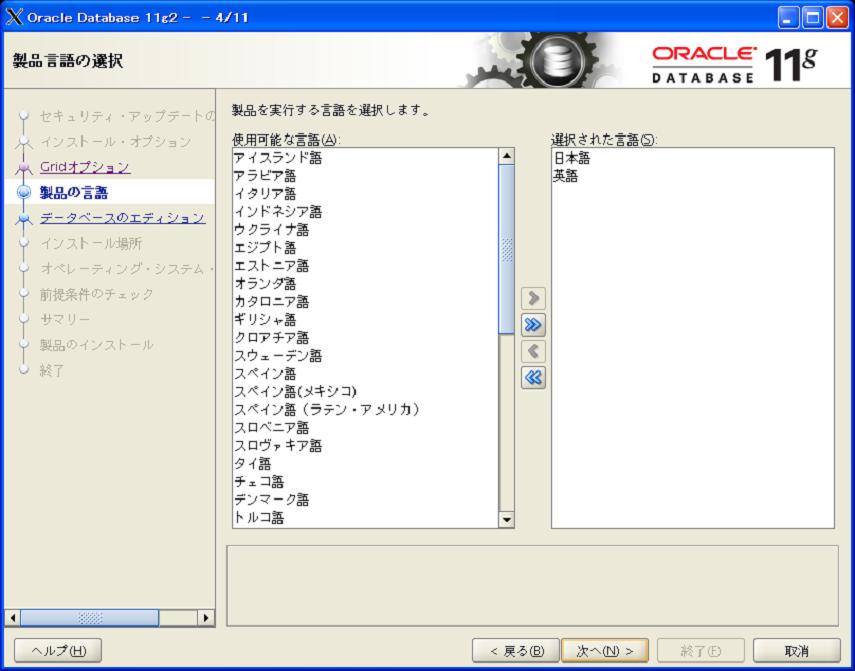
・日本語、英語を選択します
・Enterprise Editionを選択します
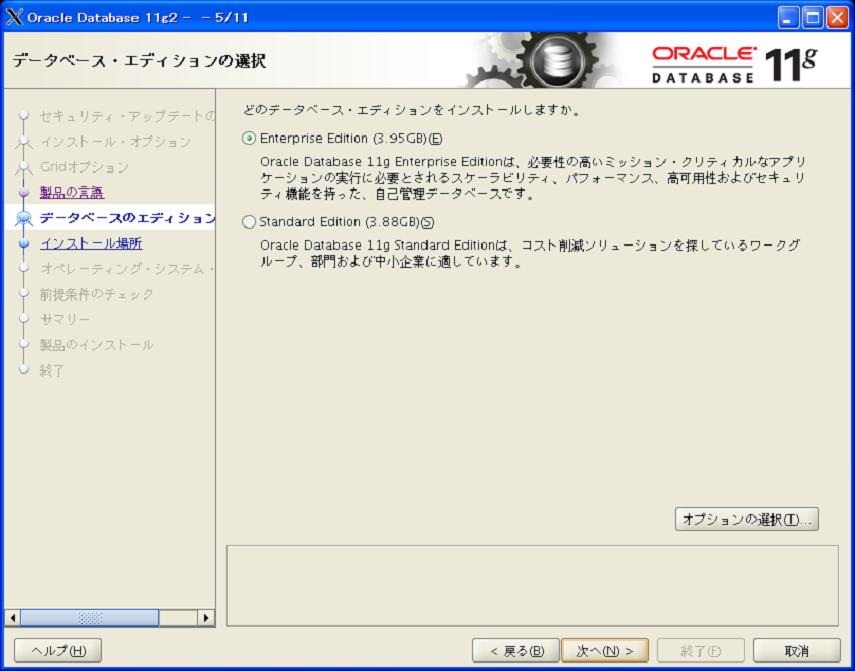
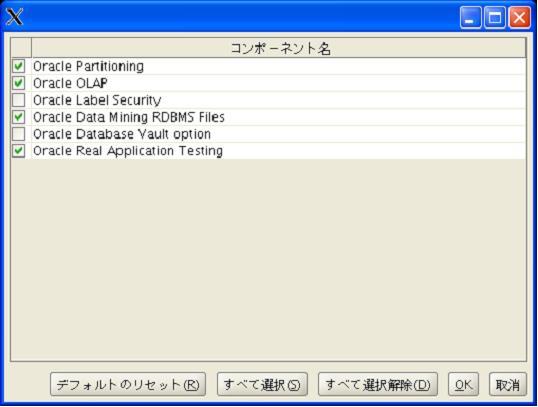
・オプションはデフォルトのままにします
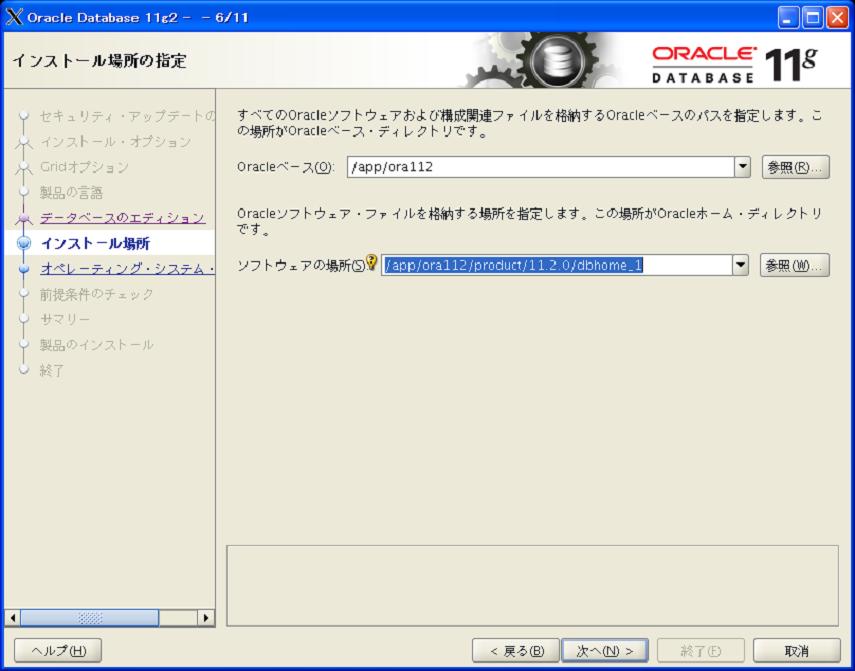
・ORACLE_BASE及びORACLE_HOMEを選択します
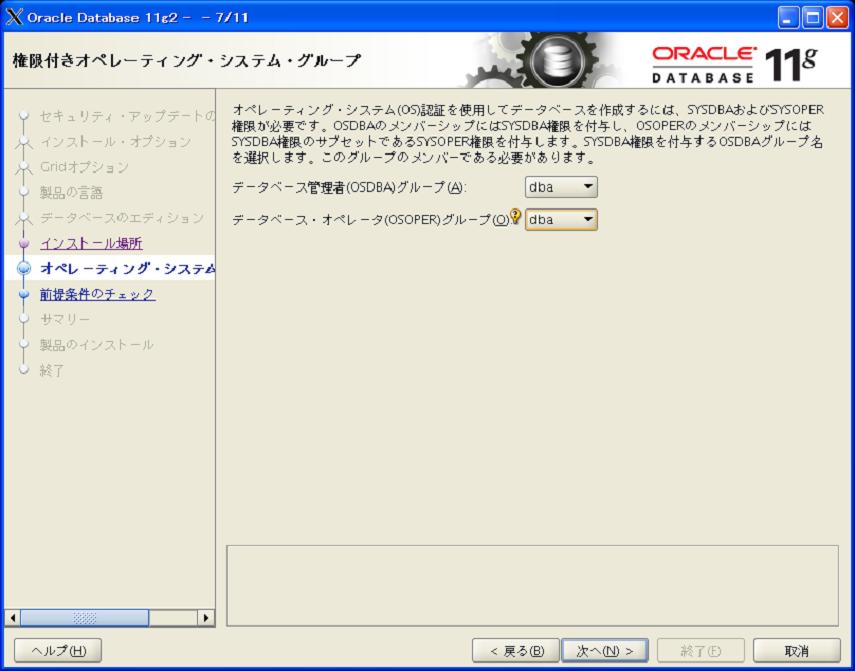
・DBAグループとOPERグループを入力しますが今回はいずれもdbaグループを登録します
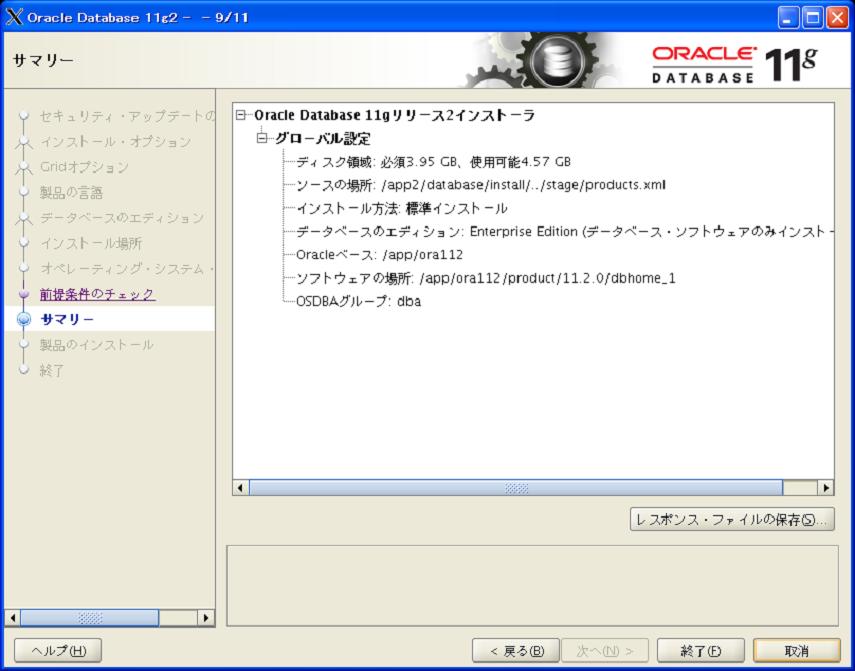
・サマリーが表示されます
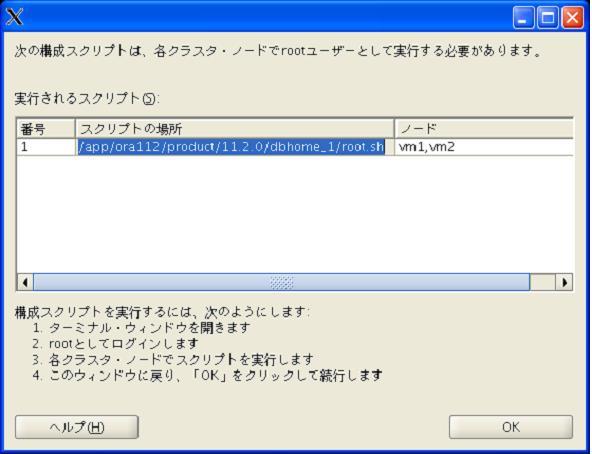
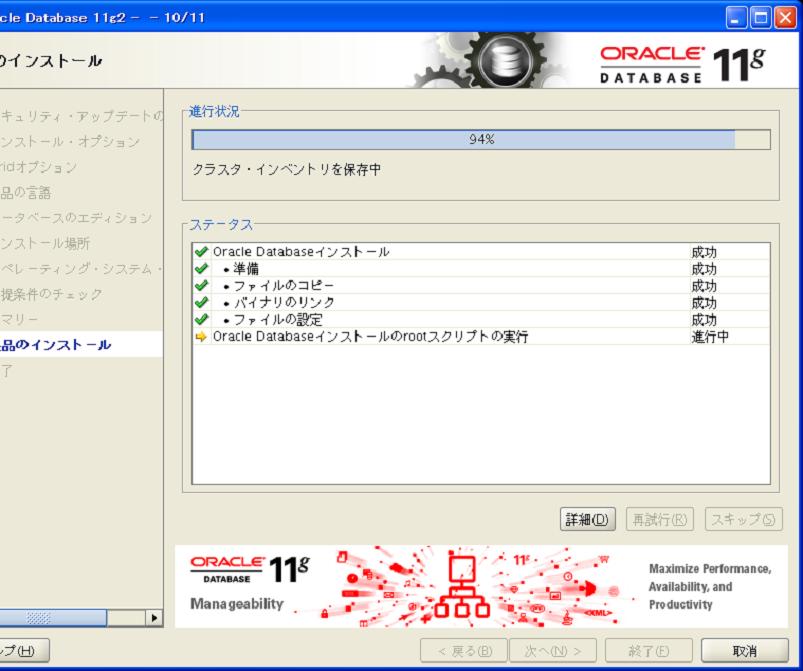
・インストールが進んだ後、rootでスクリプトを実行するよう求められるのでスクリプトを実行します。
スクリプトについては全てデフォルトのまま(何も入力せずにenter)進めて問題ありません
node1の実行ログ
[root@vm1 ora112]# /app/ora112/product/11.2.0/dbhome_1/root.sh
Running Oracle 11g root.sh script...

The following environment variables are set as:
    ORACLE_OWNER= ora112
    ORACLE_HOME=  /app/ora112/product/11.2.0/dbhome_1

Enter the full pathname of the local bin directory: [/usr/local/bin]:
The file "dbhome" already exists in /usr/local/bin.  Overwrite it? (y/n)
[n]: n
The file "oraenv" already exists in /usr/local/bin.  Overwrite it? (y/n)
[n]: n
The file "coraenv" already exists in /usr/local/bin.  Overwrite it? (y/n)
[n]: n

Entries will be added to the /etc/oratab file as needed by
Database Configuration Assistant when a database is created
Finished running generic part of root.sh script.
Now product-specific root actions will be performed.
Finished product-specific root actions.
node2の実行ログ
[root@vm2 ora112]# /app/ora112/product/11.2.0/dbhome_1/root.sh
Running Oracle 11g root.sh script...

The following environment variables are set as:
    ORACLE_OWNER= ora112
    ORACLE_HOME=  /app/ora112/product/11.2.0/dbhome_1

Enter the full pathname of the local bin directory: [/usr/local/bin]:
The file "dbhome" already exists in /usr/local/bin.  Overwrite it? (y/n)
[n]:
The file "oraenv" already exists in /usr/local/bin.  Overwrite it? (y/n)
[n]:
The file "coraenv" already exists in /usr/local/bin.  Overwrite it? (y/n)
[n]:

Entries will be added to the /etc/oratab file as needed by
Database Configuration Assistant when a database is created
Finished running generic part of root.sh script.
Now product-specific root actions will be performed.
Finished product-specific root actions.
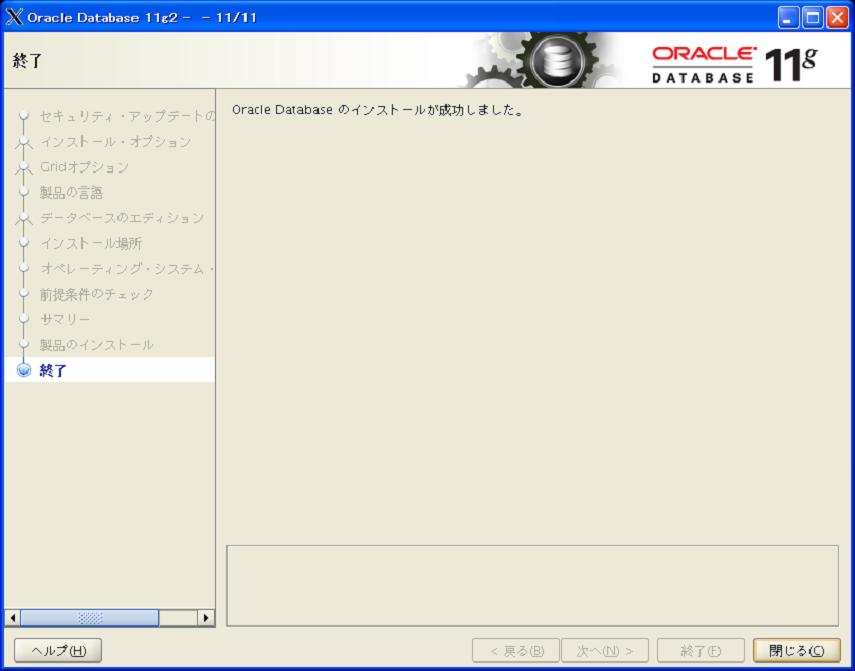
以上で完了です。
1 構成・インストール前準備
2 Grid Infrastructureソフトウエアのインストール
3 データベースソフトウエアのインストール
4 データベースの作成
補足
 折りたたみ
折りたたみ 展開
展開